| On this page |
Overview
When using Copy to Points, you sometimes need to vary the geometry of each copy. You can do this by using point attributes on the target points to influence copy generation inside a For-Each loop. See varying copies for more information.
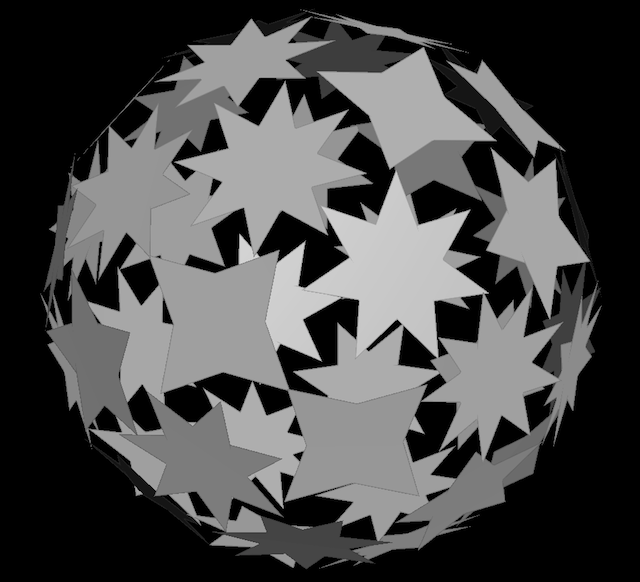
In this tutorial, you will create a ball of random stars. To achieve this effect, you will:
-
Create target points with an attribute specifying a star shape.
-
Copy a procedural star shape onto the points of a sphere in a For-Each loop.
-
Use point to vary the shape based on the attribute on the target point.
You can load a file with the completed project from $HFS/houdini/help/files/vary_per_copy.hip.
Create the source points
-
In the shelf, click the Create tab, then ⌃ Ctrl-click the
Sphere to add a sphere at the origin.
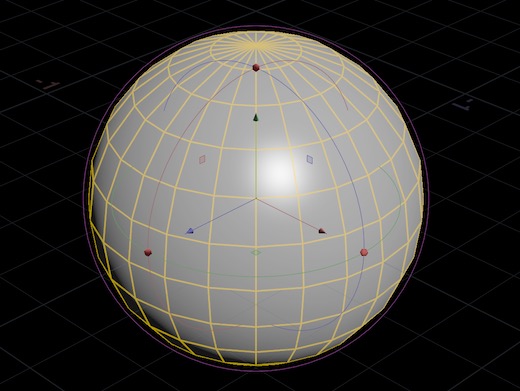
⌃ Ctrl clicking the create tools instantly creates the object at the origin. If you click the icon without ⌃ Ctrl, Houdini waits for you to place the new object.
-
In the operator controls toolbar (above the 3D view), set the Primitive type to Polygon and the Uniform scale to
0.6, 0.6, 0.6.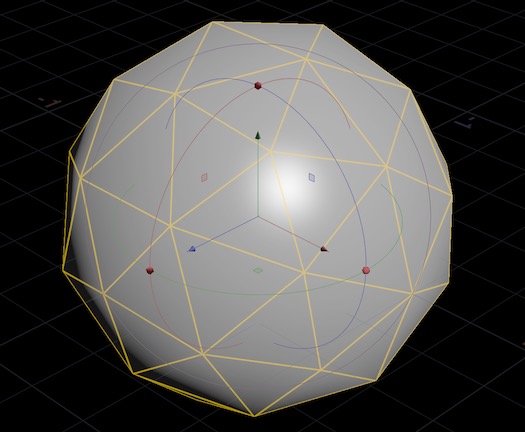
-
In the network editor, click the
sphere_objectnode’s name and change it tostarball. -
Double-click the
starballnode to dive into the geometry network. -
Create an
Attribute Create node and wire the
spherenode into it.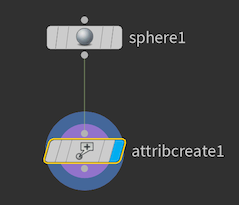
-
In the parameter editor for the Attribute Create node:
-
Set the Name to
divisions. -
Set the Class to "Point".
-
Set the Type to "Integer".
-
Set the first Value field to the following expression:
int(rand($PT) * 6) * 2 + 8
This creates a
divisionsattribute on the sphere’s points. In the Attribute Create node,$PTis the current point number. Using this as the seed for the rand function gives us a different random value on each point.Multiplying the result of
rand()(which is from 0 to 1) by 6 gives us random numbers from 0 to 5. Then we multiply by 2 to ensure we always have an even number of divisions, from 0 to 10 by 2. The minimum number of points to get a star-like shape is 8, so we add 8 to get numbers from 8 to 18.
-
Tip
You can use the Geometry spreadsheet to see the values of attributes on all points in a node. Right-click a geometry node in the network editor and choose Spreadsheet.
Create a procedural star
-
Still inside the
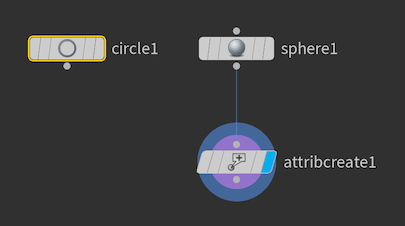
starballgeometry network, create aCircle node.
-
In the
circlenode’s parameter editor, set the Primitive type to Polygon and the Radius to0.2, 0.2.
To turn a polygonal circle into a star, we’ll create a group containing every other point, and transform them.
-
Add a
Group by Range node and wire the
circlenode into it.-
Set the Group to
even. -
Set the Group type to "Points".
-
Set the "Range filter" to Select 1 of 2.
-
-
Add a
Transform node and wire the
grouprangeinto it.-
Set the Group to
evenso we only transform every other point. -
Set the Uniform scale to
0.5.
-
-
Click the display flag on the
transformnode.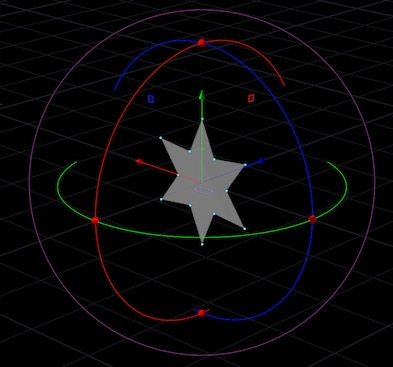
You can select the
circlenode and try different values in the Divisions field to see how they affect the shape of the star.
Copy to points
-
Create a
Copy to Points node. Wire the
transformnode (the star shape) into the first input. Wire theattribcreate(the sphere points to copy onto) into the second input.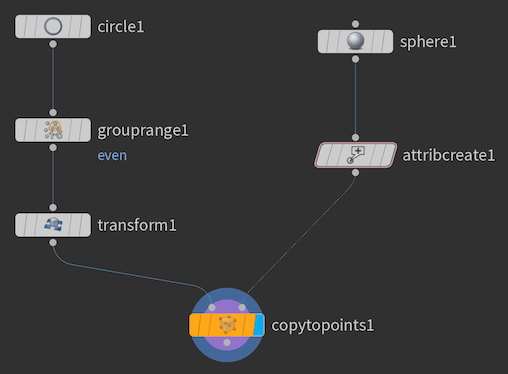
-
Click the display flag on the
copytopointsnode.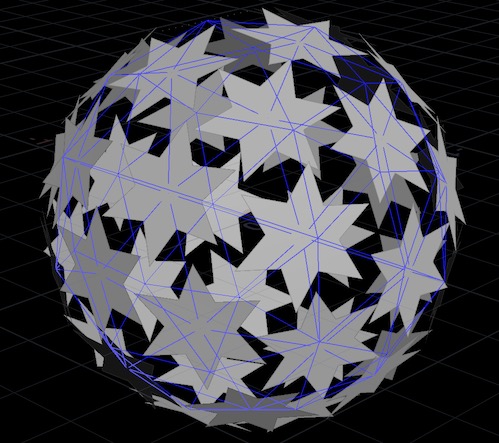
In the viewport, you can see that the node is simply copying the current star geometry unchanged onto each point. Often this is all you need. However, for this exercise we want each star to use the
divisionsattribute we created on the sphere to control the number of divisions in each star. For that, we’ll use a For-Each loop.
Add a For-Each loop
-
Use the ⇥ Tab menu to create a For-Each loop.
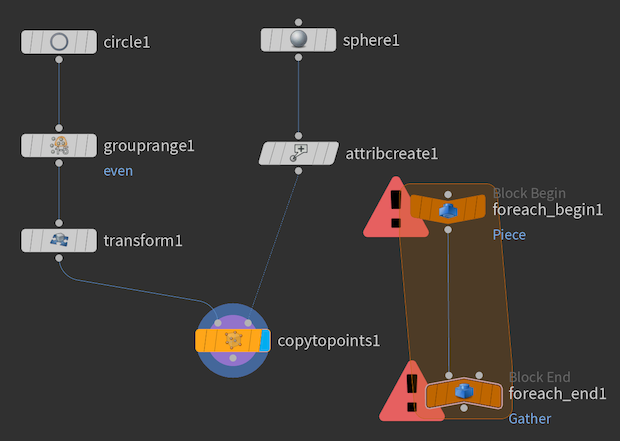
Houdini automatically creates a pair of
foreach_beginandforeach_endnodes. -
We’ll be wiring nodes in between the begin and end nodes, so move them apart in the network editor to create room between them.
-
Select the
foreach_beginnode. The Iteration method is set to "By pieces or points". This is what we want: it will process each individual point in the input in a loop. -
Select the
foreach_endnode.Unfortunately the default settings for this node are for a certain workflow (looping over pieces, such as from a shatter) different from what we're doing, so we need to change some parameters.
-
Set Piece elements to "Points" to make the block loop over points.
-
Turn off Piece attribute so it loops over every individual point instead of trying to group pieces by an attribute.
-
-
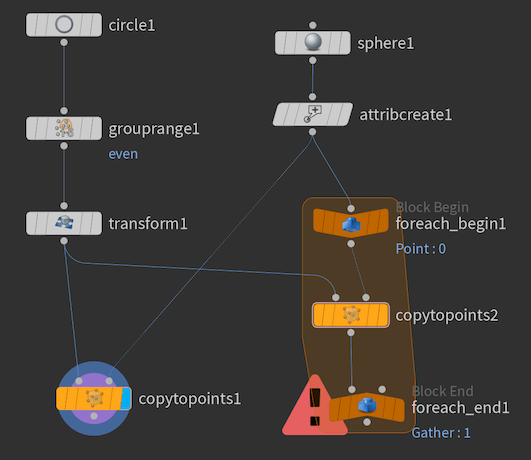
Wire the output of the
attribcreate(the points we want to copy to with our added attribute) into theforeach_beginnode.This tells Houdini that we want to loop over the points of the sphere (with our added attribute on the points).
-
Create a new Copy to Points node (
copytopoints2).-
Wire the output of the
transformnode (the star geometry) intocopytopoints2's first input. -
Wire the output of the
foreach_beginintocopytopoints2's second input. This sends each point into the Copy to Points node in a loop. -
Wire the output of
copytopoints2into theforeach_endnode.
-
-
Click the display flag on the
foreach_end.The star is copied onto the points again, but there’s a problem: all the stars have the same orientation, instead of using the normals from the sphere!
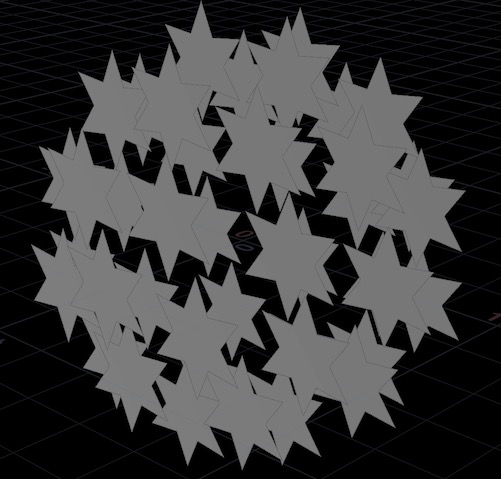
(Normals are vectors describing the 3D orientation of polygonal faces.)
This is because the For-Each loop extracts only a point at a time from the input geometry, and the sphere didn’t have point normals. So the copy node doesn’t have the information needed to orient the copies properly.
-
To fix the normals, create a
Normal node and drop it on the wire between the
spherenode and theattribcreatenode. In the Normal node’s parameter editor, set Add normals to to "Points".
This creates a normal attribute on the sphere’s points. Now the copies are oriented using the point normals from the sphere.
Vary each star
At this point we've simply reproduced the output of the original Copy to Points in a more complicated way! But now that we've set up the copy in a loop, we can vary the geometry per-copy.
-
Select the
circlenode. -
In the Divisions field, enter the following expression:
point("../foreach_begin1", 0, "divisions", 0)pointtakes the following arguments:point(path_to_geometry_node, point_number, attribute_name, index)
-
The path_to_geometry_node is a path to the For-Each begin node, which inside the loop will contain the point we're copying onto.
-
The point_number is always 0, because inside the loop we're only ever working on one point at a time.
-
The attribute_name is the name of the point attribute you want to read.
-
If the attribute type is integer or float, you can leave index at
0. If the attribute type has components (for example, R, G, B in a color, or the three axes of a vector), you need to read each component separately using individual calls topointwith theindexchanged to0,1,2, and so on.
-
-
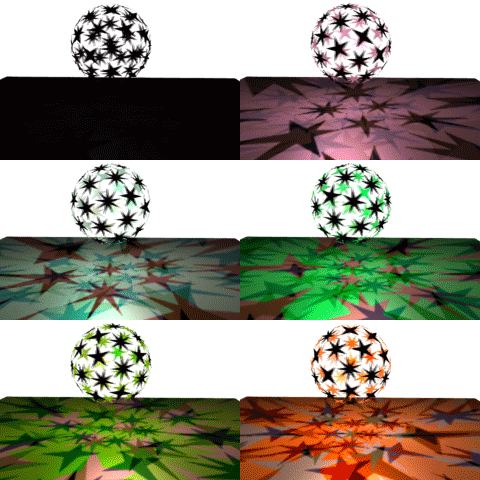
Now you're using a point attribute from the point being processed to influence how the network generates the geometry to copy onto the point. Each star shape uses the point attribute we set up on the sphere to determine how many corners each star has.

You're done!
Finished
Tip
The For-Each loop can be slow for large numbers of copies. To speed up copying, you can try wrapping the loop in a compile block.